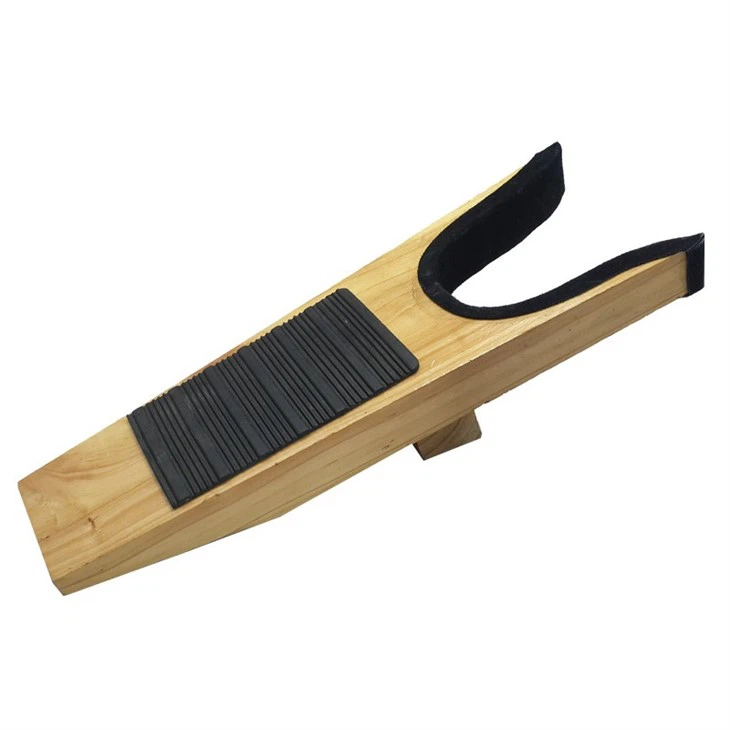

Products show
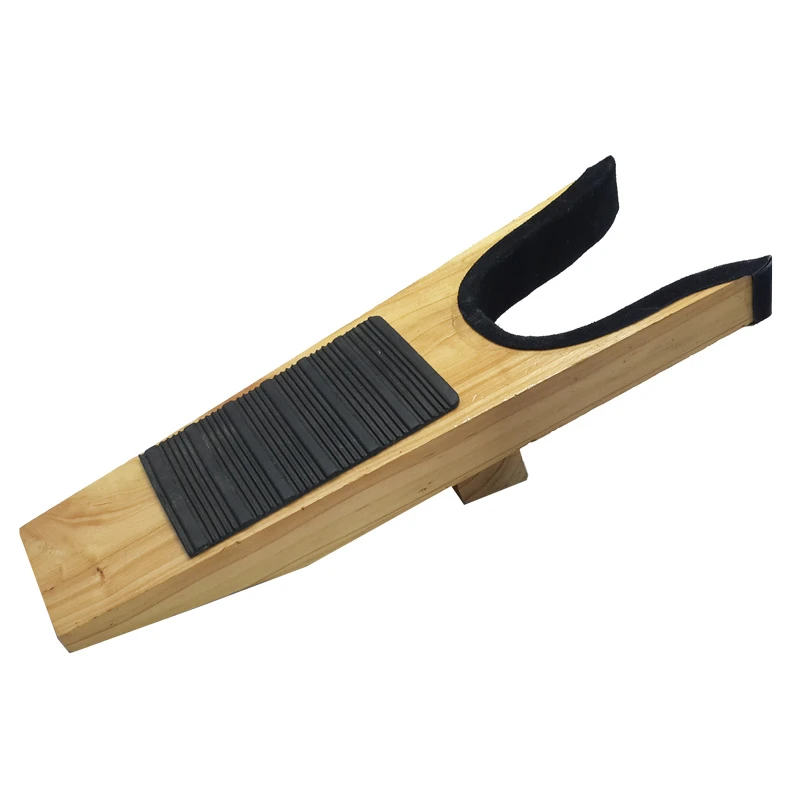
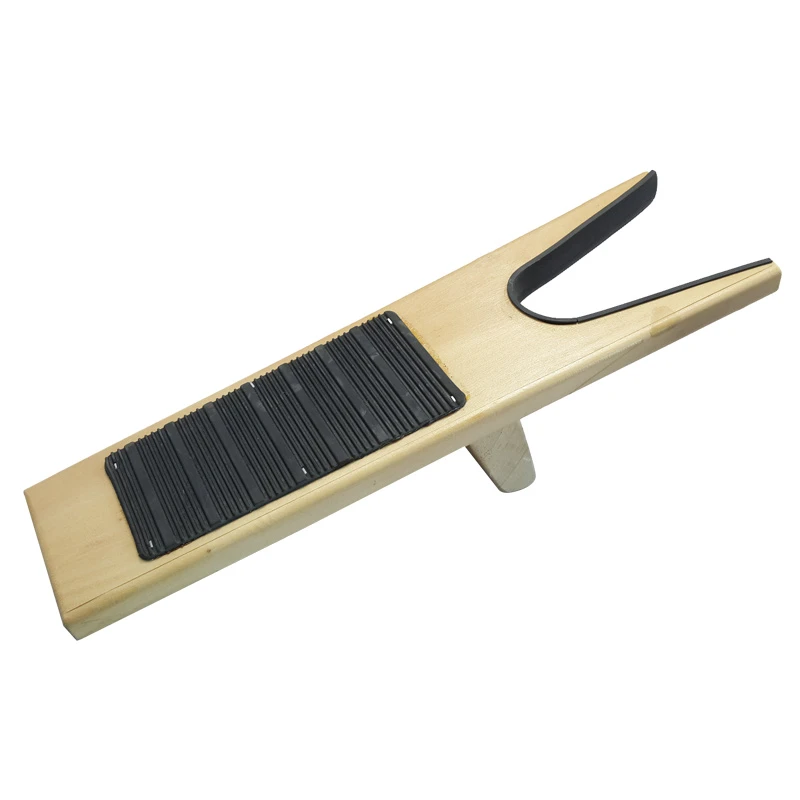
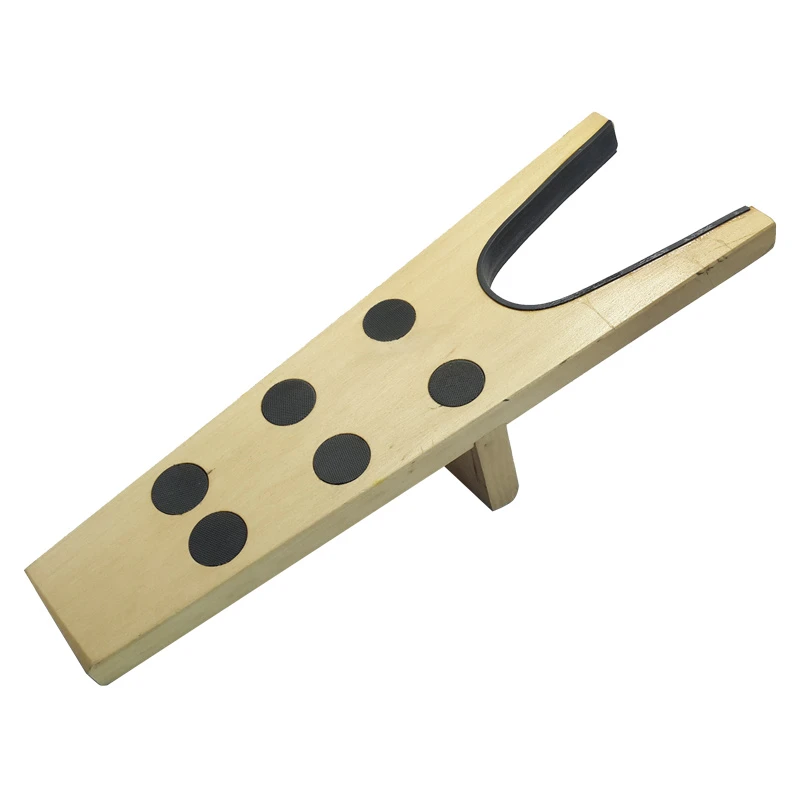
Product Description:
Material: Wooden
Products Customization


Company Information

Certificate

Packaging & shipping

FAQ
How to make a wooden boot jack?
Making a wooden boot jack is a straightforward woodworking project that can be completed with basic tools and materials. Here's a step-by-step guide on how to make a wooden boot jack:
Materials You'll Need:
- A piece of hardwood board (such as oak or maple)
- Measuring tape
- Pencil
- Saw (circular saw, jigsaw, or handsaw)
- Sandpaper (various grits)
- Wood glue
- Screws or nails
- Screwdriver or hammer
- Wood finish (optional)
Instructions:
1. Design and Measurements:
- Start by deciding on the dimensions of your boot jack. A common size is around 12-18 inches in length, 6-8 inches in width, and 1-1.5 inches in thickness. Use these dimensions as a guideline or adjust them to your preference.
2. Mark and Cut the Wood:
- Using your measuring tape and pencil, mark the dimensions of the boot jack on the hardwood board. You'll need to mark and cut two identical pieces. These will form the top and bottom sections of the boot jack.
3. Cut the Boot Jack:
- Cut out the two pieces you marked in the previous step. You can use a circular saw, jigsaw, or handsaw for this purpose. Make sure your cuts are straight and accurate.
4. Shape the Boot Jack:
- The boot jack typically has a tapered shape with a wider end to support the heel of the boot and a narrower end for the toe. Use your saw to create this tapered shape. The exact angle and length of the taper are up to your preference. You may want to look at existing boot jacks for inspiration.
5. Smooth Edges and Surfaces:
- After cutting and shaping the pieces, use sandpaper with various grits to smooth the edges and surfaces. Start with rough grit sandpaper and gradually move to finer grits to achieve a polished finish.
6. Assemble the Boot Jack:
- Place the two wooden pieces on top of each other, ensuring that the tapered ends align. Apply wood glue along the mating surfaces, and then press the pieces together. This creates a solid base for your boot jack.
7. Secure with Screws or Nails:
- To reinforce the bond, you can use screws or nails. Pre-drill holes to prevent splitting and then attach the pieces with screws or nails. Make sure the fasteners are flush with the wood surface.
8. Optional Finish:
- If you'd like to protect and enhance the appearance of your boot jack, you can apply a wood finish like varnish or wood stain. Allow it to dry according to the product instructions.
9. Test Your Boot Jack:
- Once the boot jack is complete and the glue and finish (if applied) are dry, test it by placing a boot on top and using it to assist with boot removal. Ensure that the boot jack is stable and functional.
10. Use and Enjoy:
- Your wooden boot jack is now ready to use. Place it on the ground, slip the heel of your boot into the wider end, and use it to assist in removing your boots.
Making your own wooden boot jack allows you to customize its size and design to meet your specific needs. It's a practical and satisfying woodworking project for those with basic woodworking skills.
Contact Us